


Proper Tesla cooling system repair requires precise adherence to Original Equipment Manufacturer (OEM) torque specs and a meticulous process encompassing safety protocols, component removal, torque checks, reassembly, leak testing, cleanup, and final inspection to ensure optimal thermal management, vehicle performance, and longevity.
Tesla owners often face unique challenges when it comes to vehicle maintenance, especially with the complex cooling systems in their electric powerhouses. This article delves into the intricacies of Tesla cooling system repairs, emphasizing the critical role played by OEM (Original Equipment Manufacturer) torque specifications. By understanding these guidelines, you’ll ensure a reliable and effective repair process, covering basic knowledge, key specifications, and practical steps to tackle this task competently.
- Understanding Tesla Cooling System Basics
- Importance of OEM Torque Specifications
- Step-by-Step Repair Process & Precautions
Understanding Tesla Cooling System Basics
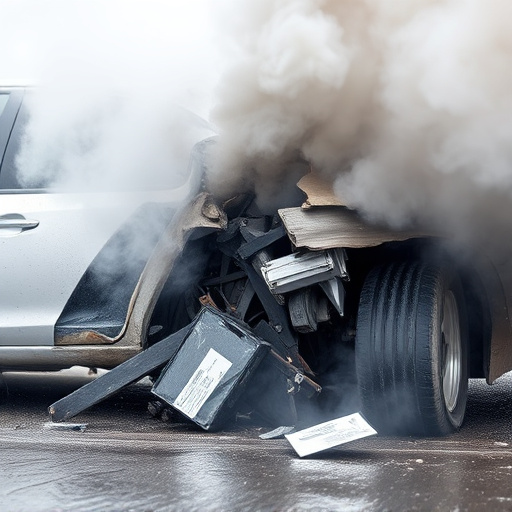
The Tesla cooling system is a complex network designed to keep the vehicle’s powerful electric motor running cool and efficient. At its heart lies a sophisticated liquid cooling mechanism, featuring radiators, fans, and a series of pipes that circulate coolant throughout the car. This system plays a vital role in preventing overheating, ensuring optimal performance, and prolonging the life of Tesla’s advanced battery packs.
When undertaking Tesla cooling system repair, it’s crucial to understand that precision is key. Original Equipment Manufacturer (OEM) torque specifications must be meticulously followed to guarantee both the effectiveness of the repair and the overall integrity of the vehicle. This includes the careful assembly and tightening of various components, from radiators to coolant reservoirs, ensuring a seamless fit and optimal cooling performance, much like an automotive body shop would meticulously perform automotive body work on a classic vehicle in a vehicle restoration project.
Importance of OEM Torque Specifications
When it comes to Tesla cooling system repair, adhering to OEM torque specifications is paramount. These specifications are meticulously designed to ensure every component of your vehicle’s repair process aligns perfectly with the manufacturer’s guidelines. Using the correct torque values for each bolt and fastener guarantees a secure assembly, which is crucial for the optimal performance and longevity of your Tesla’s cooling system.
Neglecting these specifications can lead to potential issues such as leaks, reduced efficiency, or even complete failure of the cooling system. Therefore, it’s essential to seek services from reputable auto collision centers that understand the intricate details involved in Tesla vehicle repair. Skilled technicians who specialize in collision damage repair will not only correctly reassemble your cooling system but also verify that all torque values are precise, ensuring your Tesla remains a reliable and efficient machine.
Step-by-Step Repair Process & Precautions
When undertaking a Tesla cooling system repair, it’s crucial to strictly adhere to OEM torque specifications for each component. This ensures optimal performance and longevity of your vehicle’s critical thermal management system. Here’s a step-by-step process to guide you through the repair:
1. Safety First: Begin by ensuring proper safety protocols are in place. Turn off the engine, apply the parking brake, and engage the gear shifter into Park (P). Put on protective gear, including gloves and eye protection, as some components may require handling chemical refrigerants.
2. Component Removal: Carefully remove the faulty cooling system parts following your Tesla’s service manual. This typically involves detaching hoses, sensors, and other accessories from the engine block. Use the correct tools to avoid damaging nearby components or the vehicle body repair during this process.
3. Torque Check: Before reassembling, double-check each replaced part’s torque specifications against the OEM standards. A misaligned bolt can lead to leaks, overheat issues, and even collision repair services down the line.
4. Reassembly & Testing: Reassemble the cooling system components, ensuring proper alignment and secure connections. Once reassembled, test the system for any leaks or functional deficiencies before operating the vehicle. Regular car repair services, including routine maintenance, can help prevent future breakdowns.
5. Clean-up & Inspection: After successful repairs, clean up the workspace to avoid contaminating other parts of your Tesla. Conduct a final inspection to ensure everything is in order and no further actions are required.
In conclusion, proper repair of a Tesla cooling system requires adhering strictly to OEM torque specifications. Understanding the basics and following a meticulous step-by-step process is paramount to ensure optimal performance and longevity of your Tesla’s engine. When undertaking a Tesla cooling system repair, always prioritize precision and attention to detail to avoid complications and maintain the vehicle’s overall efficiency. Remember, for any Tesla cooling system repairs, sticking to original equipment manufacturer (OEM) standards is key.